3 Steps to Extracting DNA From Saliva
Spit.
Spittle.
Dribble.
Drool.
Slobber.
Sputum.
Here at Helix, we refer to it as saliva.
But whatever synonym you choose, the key — from a science perspective — is what’s inside that saliva.
DNA — 3 letters packed with everything that makes you, you.
But how do we extract DNA from your saliva?
DNA Extraction: From Blood to Saliva
Historically, we collect genetic information by extracting DNA from blood. It’s efficient, effective, and time-tested.
However, extracting DNA from blood has its downfalls.
It can be tricky to get a blood sample from people — not only is it time-consuming to go into a hospital or doctor’s office (not to mention needles!), transport, storage and processing costs are also significant. Enter saliva.
In 2011, the FDA approved the Oragene Dx saliva DNA collection device. Faster, less intrusive, more cost-effective, and so on — saliva is now the de facto DNA collection method of choice.
But how does it actually work? How do we go from saliva — spitting in a tube — to being able to see your DNA?
DNA Extraction: How Does It Actually Work?
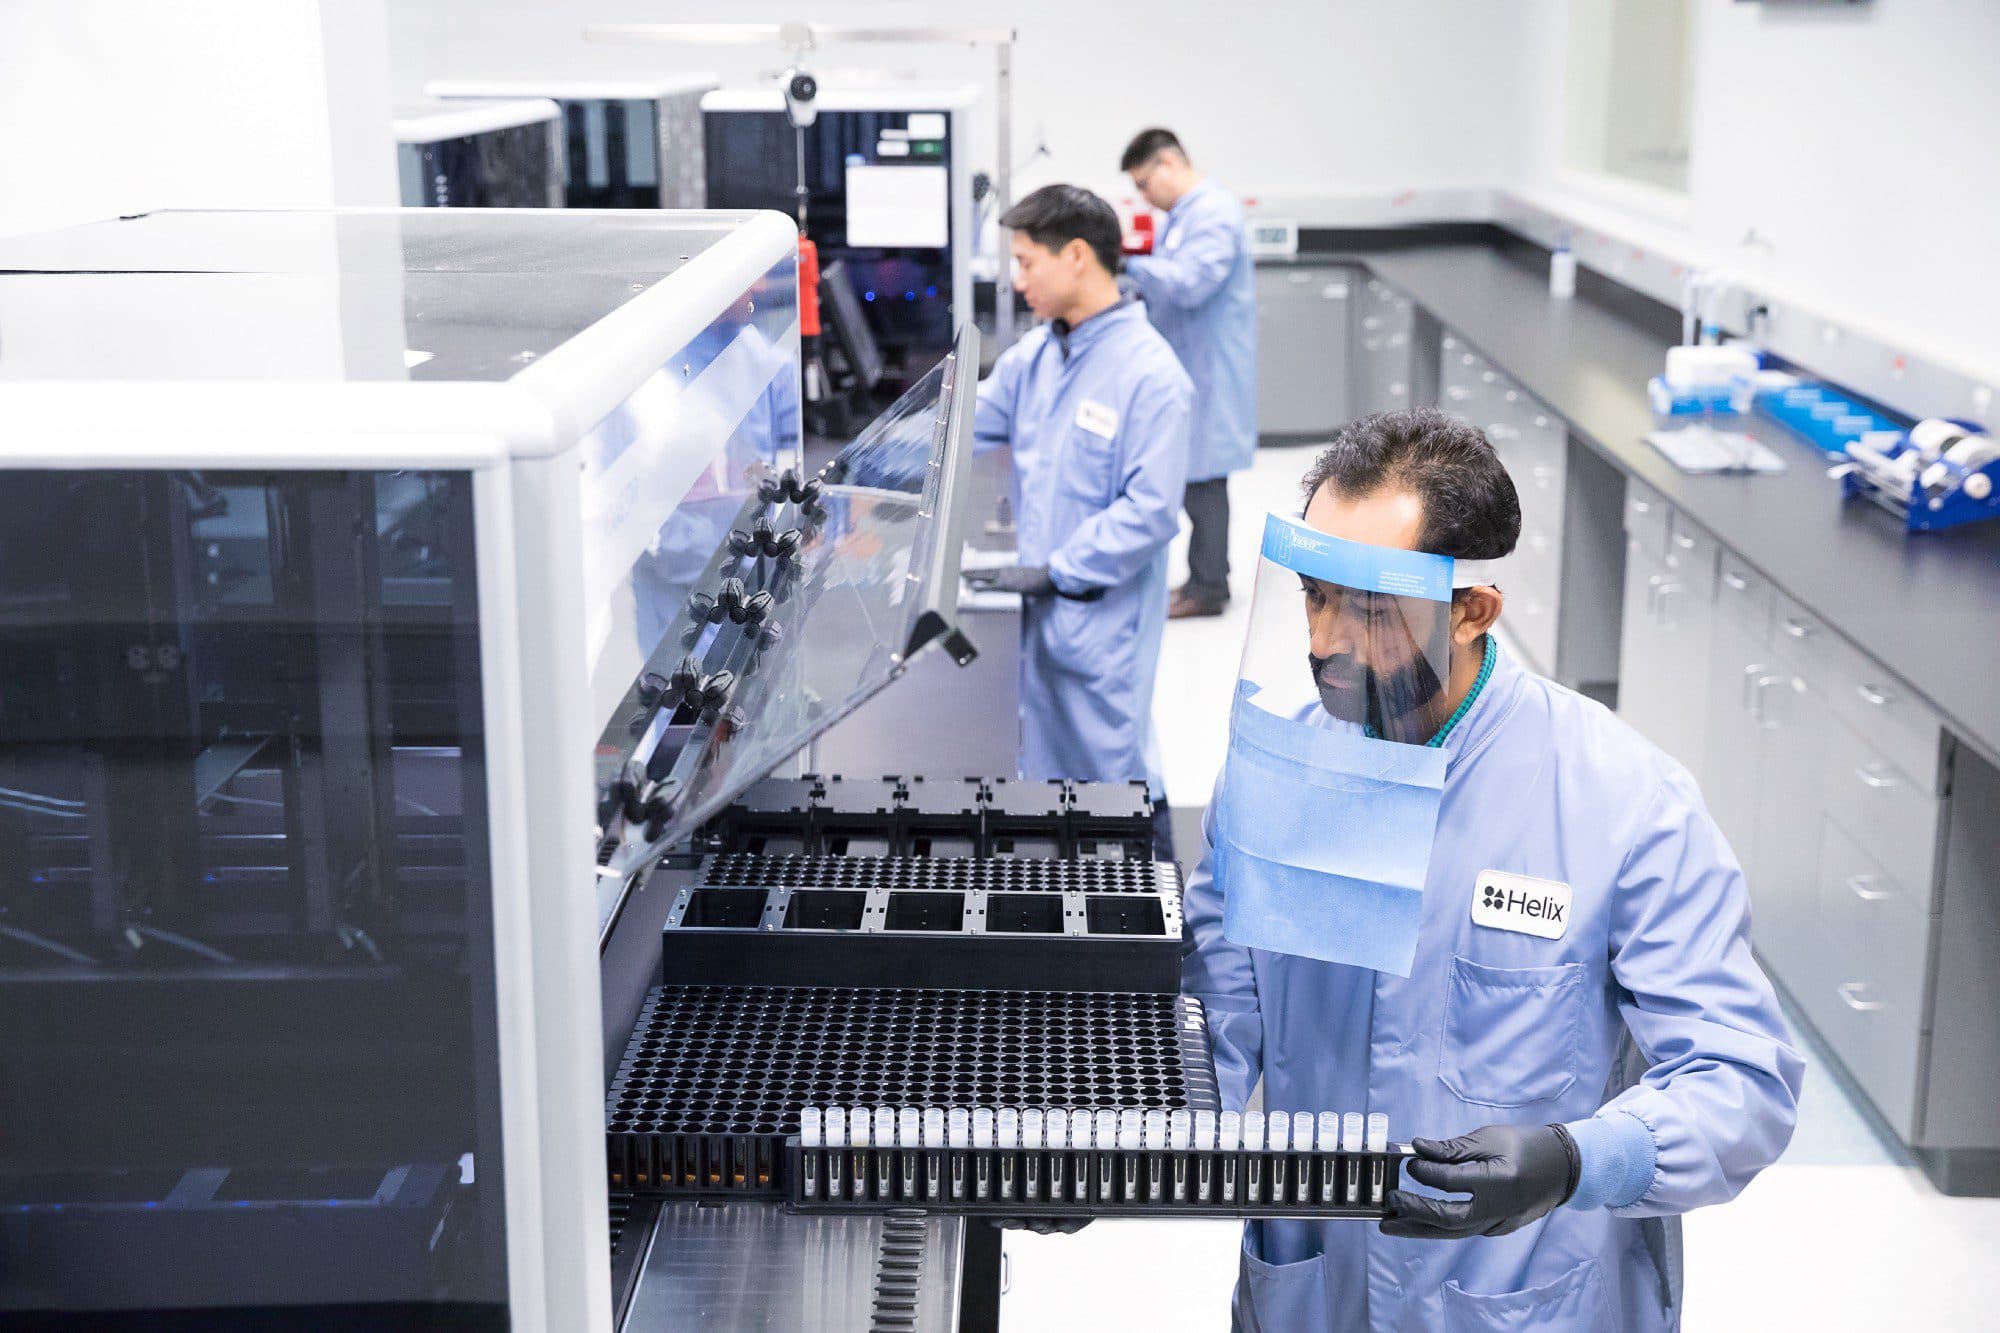
After spitting in our collector, the device is closed. The stabilizing liquid in the lid enters the tube and mixes with the saliva. Your saliva is now ready for its journey to our labs — 100% secured for long-term storage and bacterial contamination prevention.
The actual extraction of DNA from saliva, “the process,” can best be described in three steps.
Step 1: Break cells open.
There are actually a few methods to accomplish this. One even uses soap!
The membranes of cells are made up of lipids (also know as fats). As it turns out, soaps are really good at breaking up and dissolving fats. Therefore, when you mix the soap with the cells, it basically breaks up and dissolves away the membrane of the cell, thus causing the DNA to float right on out. The soap doesn’t mess with the DNA because the DNA isn’t made of lipids.
Step 2: Separate DNA from other parts of the cell such as proteins.
Again, a few methods in this step. But first, let’s talk strawberries to gain an understanding of the different ways to extract DNA.
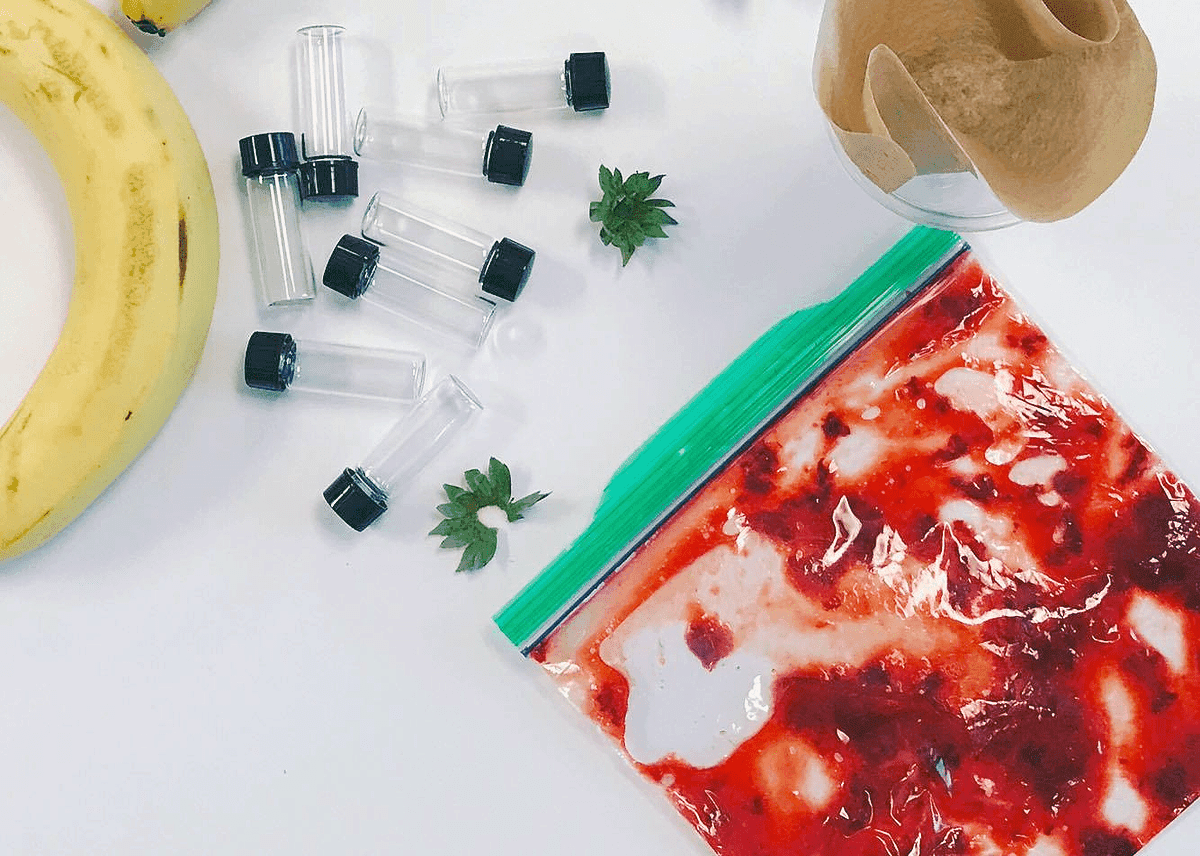
An outtake from when we extracted strawberry DNA last April in honor of #WorldDNADay.
Why strawberries? Well, as it turns out, strawberry cells have lots of DNA compared to most other cells. Because of that, we can extract a visible amount of DNA from a single large strawberry. This “strawberry method” is commonly used in schools and other demos to teach kids about DNA. Using ethanol, soap, salt, and some strawberries, you can end with some DNA on a stick.
Yup. DNA on a stick.
But for humans, separating DNA from cells is a bit more involved. The ethanol and soap we used in our strawberry demo are replaced by centrifugation in our actual process.
Centri-who? Centrifugation, of course! This typically works by spinning a tube such that the solid parts are at the bottom of the tube while the DNA is suspended in the liquid. Then, “simply” remove the liquid and put it into another tube. Onto Step 3 …
Step 3: Precipitate (purify) the pure DNA from everything else
Finally, using a chemical (typically ethanol), we clump DNA together to make it form a solid. This solid is then removed from the solution. We call this process precipitation.
So there you have it. From spit to tube to DNA. Easy, right?

The Helix DNA kit makes collecting your DNA as 1, 2, 3. (Literally)
Want to know more about how Helix works? Our step-by-step guide is a great place to start. And when you’re ready to get a DNA kit of your own, head over to the Helix marketplace.
Categories